Assigning the Door Panel to a Room
On the first load up of the application, you will be presented with the application Settings screen:
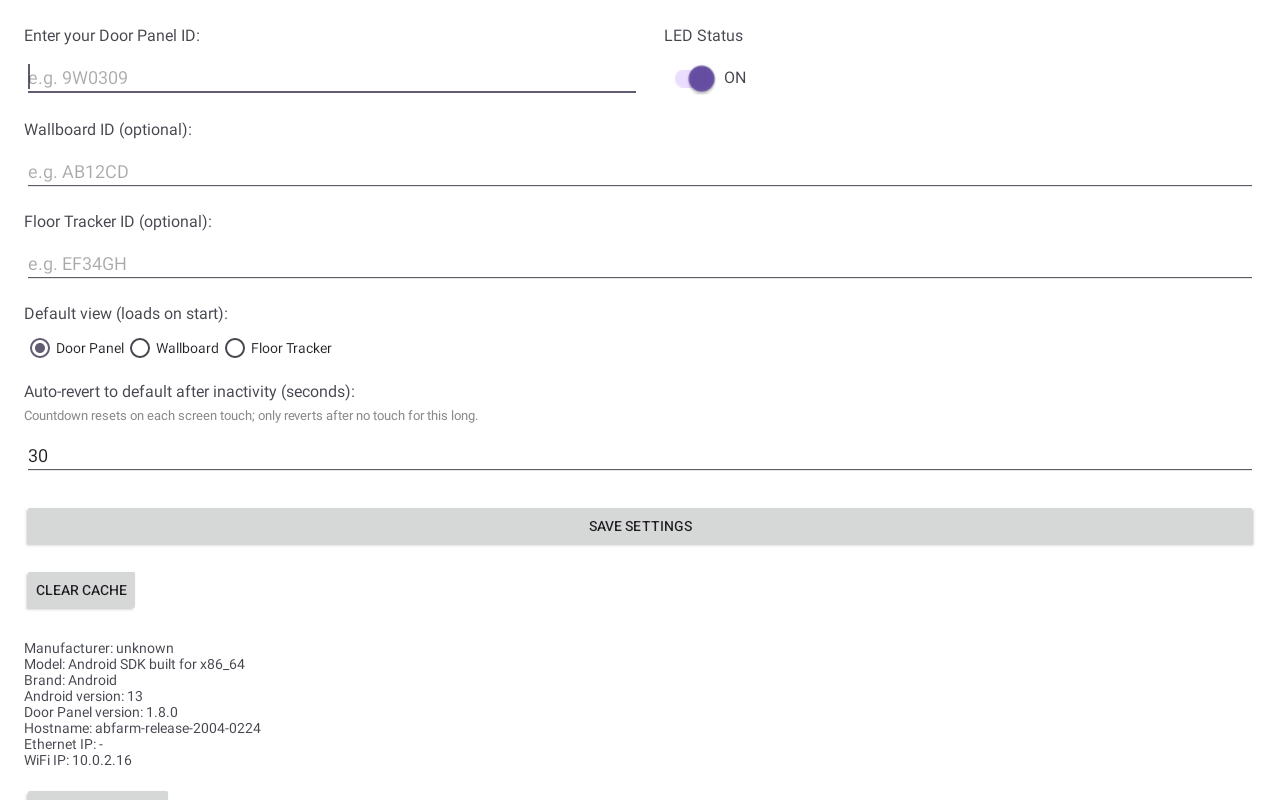
In the Enter your Door Panel ID: field, type in the Door Panel ID from Smart Building > Door Panels. In the list of configured Door Panels, you can find the ID from the row corresponding with the Room it's being used for.
For example, in a scenario where we want to assign the Door Panel to 'Meeting Room 1', then the code to use is '8F04G9':

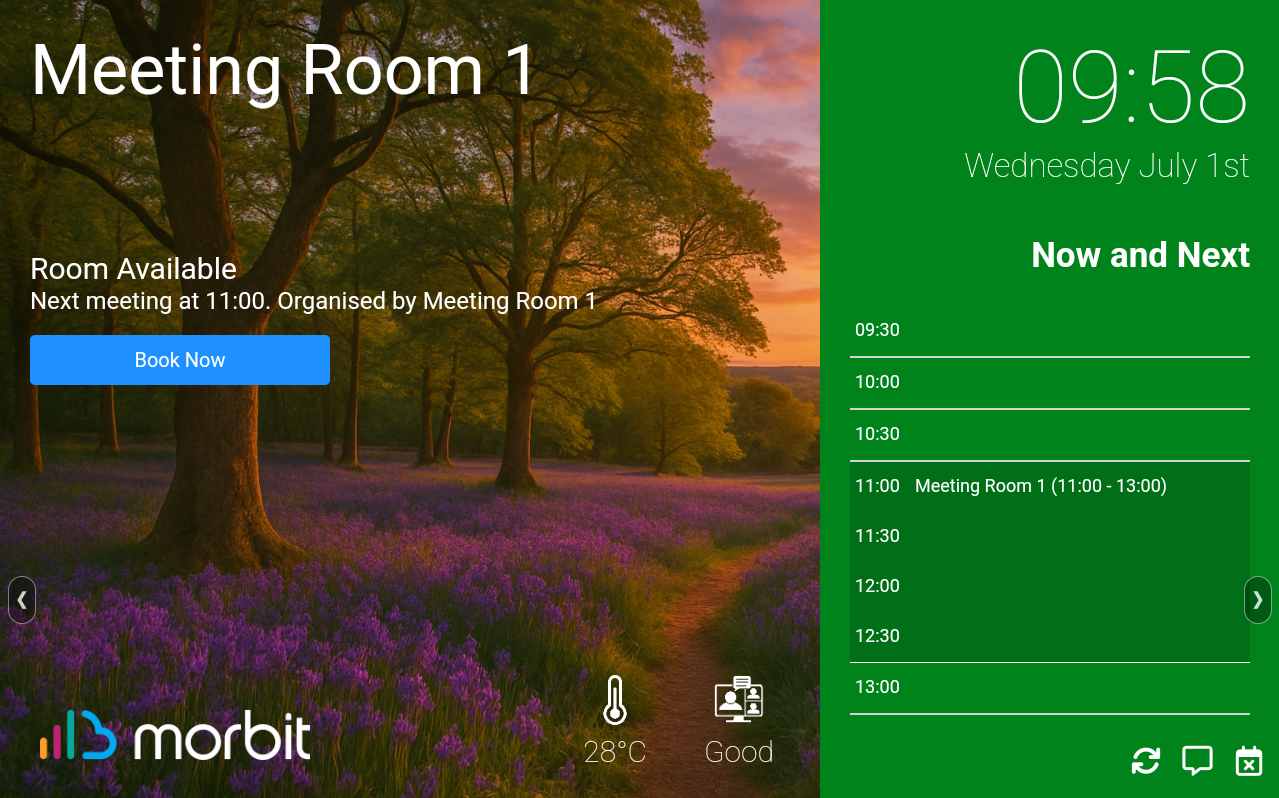
Adding this ID of '8F04G9' into the text field and selecting Save Settings will load up the Door Panel for 'Meeting Room 1':
Note: The Door Panel ID is case-sensitive. Using a code of '8f04g9' is not the same ID as '8F04G9'.
Accessing the Settings Screen
To access the Settings screen, anywhere on the screen simply tap 2-fingers on the screen and hold them there for 3 seconds. From here you can change the assigned Door Panel ID, LED brightness (if supported on the device) or access the system settings of the device.
Where supported on a device (the feature varies by manufacturer), you may alter the LED brightness, using the slider between values of 0% to 100%. The default is 100%. Tap Save Settings to update the brightness or to return back to the Door Panel screen.
Adding in a Wallboard and/or a Floor Tracker
To enable these features to be added into the panel view, you can input in the Settings screen a Wallboard ID (from Smart Building > Wallboards) and/or a Floor Tracker ID (from Smart Building > Floor Tracker). Simply select the panel you'd like to see and note down the ID provided. Add these to your Settings and tap Save Settings.
Adding in one (or two) additional panels will enable the swiping feature. Swiping left or right, or tapping the chevrons on the lower sides will change the view to your configured options. Leaving this screen idle will then revert safely back to the Door Panel.
You may disable the chevrons from appearing by turning off the Show on-screen swipe hints.
Was this article helpful?
That’s Great!
Thank you for your feedback
Sorry! We couldn't be helpful
Thank you for your feedback
Feedback sent
We appreciate your effort and will try to fix the article